If you're asking how to wear a wig without a cap because you want a lighter feel, a closer scalp contact, or a more breathable option, this guide lays out beginner-friendly, step-by-step methods and styling tips to create a natural, secure fit. Each approach below addresses common concerns such as slippage, visible knots, edges, and scalp comfort. The information blends practical technique, safety advice, and styling secrets to help novices feel confident when they go capless.
Wearing a wig without an inner cap is increasingly popular for comfort, ventilation, and when you want your wig to lay ultra-flat. But there are trade-offs: without a cap, you must account for grip, protection of your natural hair, and the risk of wig movement. This article explains multiple alternatives—some require minimal tools, others a bit of sewing or adhesive skill. No matter which method you choose, prioritize scalp health, avoid prolonged adhesive exposure, and always follow removal best practices.

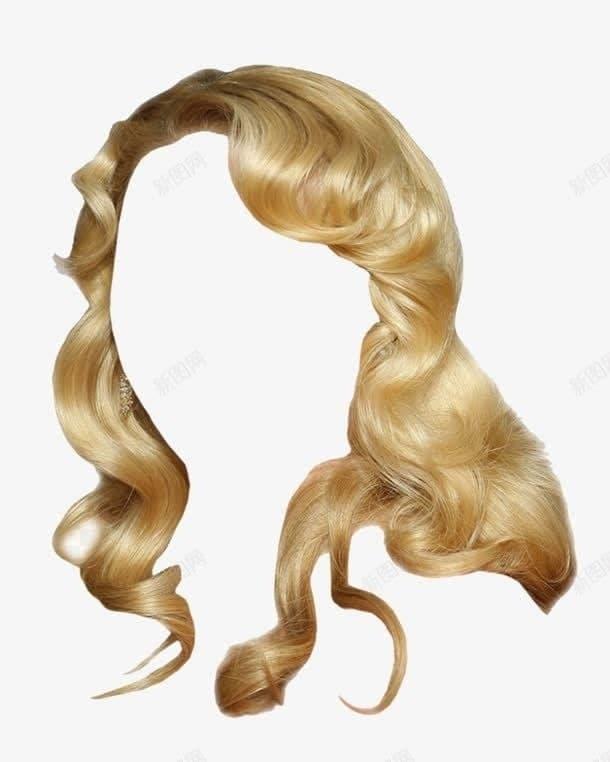
In the sections below you'll find eight distinct methods that answer the central question of how to wear a wig without a cap. Try them in different combinations—many users find a hybrid approach provides the best comfort and longevity.
This low-commitment technique uses a wide elastic or soft, velour-lined headband sewn inside the wig near the nape or secured around the hairline. The band holds the wig close to the scalp without sticky products. Step-by-step: 1) Position the wig on your head and mark where the band should sit at the nape; 2) Remove the wig, hand-sew the elastic onto the inner edge of the wig cap, making sure it’s taut but not overly tight; 3) Put the wig on and adjust the band to sit snugly behind your ears and at the nape. Pros: very comfortable and reversible. Cons: may not be as secure during intense activity.
Wig clips are sewn into the wig base at strategic points. A capless wig outfitted with quality snap clips can anchor securely to your natural hair without a full cap. For very short or fine hair, combine with a silicone gripper or sweatband. Tips: place clips at the front hairline, both sides near the temples, and at the nape for balanced hold. If you’re new to sewing, use a curved needle and strong thread, and test clip tension before cutting any lace.
Silicone grip strips attach to the inner perimeter of the wig and press against bare skin or hair, increasing friction. These are ideal for those who want to avoid adhesives. Install them by trimming to shape and gluing with fabric-compatible adhesive or sewing onto the wig lining. Benefits: breathable, reusable, and scalp-friendly. Drawbacks: may need replacement over time.
Double-sided wig tape or low-tack medical-grade adhesive provides a strong, short-term hold and is commonly used for lace front wigs worn capless. Steps for safe tape use: cleanse the skin where tape will adhere, apply small sections of tape to the wig base or hairline, press firmly and check comfort. For removal, use a recommended adhesive remover to avoid irritation. Note: rotate days between adhesive and non-adhesive wear to protect your skin.
Sewing your wig onto braided cornrows or onto a soft lace panel can be a durable option. This method is often used for longer-term styles and is popular in salon settings. Ensure cornrows are flat and even, and use a breathable lace or net that allows airflow. Pros: very secure and natural-looking; cons: requires a stylist or some sewing skill, and removal takes time.
For quick outings, a carefully placed bobby pin strategy and a realistic part can keep a wig stable. Use two to four long pins placed through the wig and anchored into thicker areas of your own hair. Create a natural-looking part with powder, concealer, or a pre-plucked lace area. Best for light activity and short-term wear.
To make a capless wig look like it grows naturally from your scalp, work on the hairline. Bleaching knots reduces visible dark dots on lace front pieces. Tinting lace with a thin layer of makeup or lace tint spray improves color match. Create baby hairs by trimming and laying a few short strands with light edge gel. These finishing touches make a capless wig appear more realistic.
Applying a little texturizing product to the inside perimeter or to your natural hair can increase friction. Light styling products like mousse or dry shampoo add grip and reduce slipping for capless setups. Avoid heavy oils that can reduce adhesion or create slippage.
Even with the best technique, capless wear can bring surprises. Below are solutions to frequent issues, each described with actionable fixes so you can troubleshoot confidently.
Solution: sew small snap clips or wig combs near the temples; add a thin strip of silicon grip; use a lightweight headband under the wig to anchor the front hairline. Recheck the wig's ear-to-ear alignment and tighten elastic if applicable.

Solution: tint the lace with a lace tint spray or diluted foundation that matches your scalp tone. For the part, use a concealer or a light foundation to create depth. Consider ventilating (re-plucking) the parted area gently to reduce density and mimic natural growth.
Solution: switch to low-tack medical tapes or wig grips; perform a patch test before use; use adhesive removers for gentle removal; consult a dermatologist for persistent reactions. Rotate adhesive-free days to allow the skin to recover.
Maintain capless wigs by washing gently with sulfate-free shampoo and conditioner suited to the fiber type. Always dry on a wig stand to preserve shape. For lace front pieces, avoid soaking the lace; instead, spot-clean the hairline. Store on a stand or in a breathable bag to prevent dust and tangles.
To achieve a convincing look, color match the wig's root tone to your scalp and natural hair. When blending, use color-correcting powders to reduce the shine of synthetic fibers and to match scalp oil levels. For human hair wigs, create a lived-in texture with light sea salt spray or low-heat styling to mimic everyday hair movement.
Always check adhesive ingredients for allergens, and limit adhesive use to shorter periods if you have sensitive skin. For heat styling, verify the wig fiber's heat tolerance. Apply a heat protectant when working with human-hair wigs and avoid excessive heat on synthetic fibers to prevent damage.
Be patient—mastering how to wear a wig without a cap takes practice. In most cases, novices report that the second or third fitting is when things finally click. Keep experimenting with small adjustments: clip placement, the tension of sewn elastics, and part definition. Document your wins—take photos of your setup so you can replicate what works.
Searchers who type how to wear a wig without a cap often look for comfort-focused alternatives or want to minimize heat and friction caused by wig caps. This content aims to answer those intents comprehensively: providing actionable steps, clear product recommendations, safety warnings, and styling guidance that produce a natural-looking result.
1) Use a thin layer of scalp-colored concealer inside the part to create depth. 2) Always trim excess lace conservatively; you can trim more but you cannot add back. 3) Practice removing adhesives with a suitable remover to avoid hair loss or irritations.
Budget options: silicone strips and headbands under $20 and 10-20 minutes to install. Moderate: clip-ins and sewn elastics cost $20-50 and take 20-60 minutes to attach. Professional or semi-permanent installs: $100+ and several hours in a salon. Choose based on how often you’ll wear the wig and how active you’ll be while wearing it.
To summarize, learning how to wear a wig without a cap means choosing methods that align with your comfort, activity level, and aesthetic goals. Start with reversible, low-commitment solutions like elastic bands, silicone grips, or sewn-in clips. Move to adhesives or sewn-in weft techniques only after testing for skin sensitivity and practicing removal. Combine multiple tactics—texture, tinting, and secure anchoring—to achieve the most natural results.
A: Most people can, but success depends on factors like hair length, texture, scalp sensitivity, and the type of wig base. Short or slicked hair tends to be easier to anchor with clips or grips; longer hair might require braided anchors.
A: Only use medical-grade, skin-safe adhesives and perform a patch test first. For daily wear, consider low-tack options or silicone grips to reduce skin exposure to glue.
A: Tint the lace to your skin tone, bleach knots if needed, create baby hairs, and use a thin layer of concealer in the part. Lightly pluck the hairline for a softer, less dense look. These steps reduce the visual cues that a wig is being worn.
With practice and careful attention to detail, learning how to wear a wig without a cap becomes a reliable styling skill—one that increases comfort while delivering a convincing, natural appearance. Keep notes on what works for you, rotate techniques to preserve scalp health, and gradually refine your approach to achieve the secure, realistic look you desire.