This comprehensive guide offers clear, usable advice on one of the most asked-about styling topics: how to secure wigs with bobby pins so that you enjoy a confident, comfortable, all-day hold. By focusing on technique, materials, placement, and maintenance, this article gives you repeatable steps and pro tips that work for lace-front pieces, full caps, glueless systems, and everyday synthetic wigs.
Many wig-wearers assume adhesives, tapes, or combs are the only solutions. However, how to secure wigs with bobby pins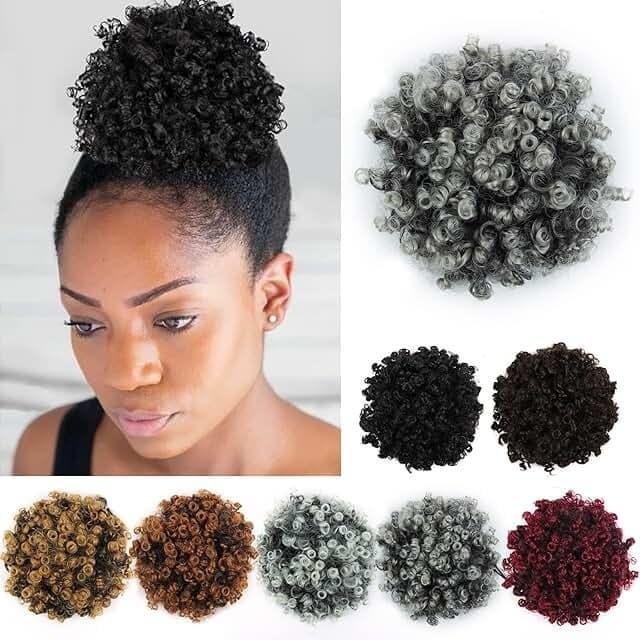 remains a top-requested method because bobby pins are discreet, portable, damage-free (when used right), and excellent for quick fixes. This article dives into safe, effective ways to use inexpensive pins while maximizing comfort and longevity.
Applying how to secure wigs with bobby pins knowledge to placement strategy is essential. Experiment with these patterns:
 A diagonal pin from the temple toward the nape gives leverage against forward/backward shifting.
Lace-front pieces need front stability without damaging the delicate lace. Use soft, short pins behind the hairline edge — never pin through the lace. Instead, pin through any reinforced fabric or the wig cap just behind the lace so the lace remains intact and undamaged. For how to secure wigs with bobby pins on lace fronts, prioritize hidden anchors near the temples and behind the ear rather than the frontal lace strip.
Full caps allow more internal placements. You can use longer pins inside the cap to fasten to your wig cap or small braids. Cross pins for the crown and add nape anchors to prevent lift. For caps with combs, secure the combs first and then reinforce with pins where the comb can't reach.
Even when using adhesives, adding a few bobby pins provides backup for humid days or athletic activities. Place pins where they won't interfere with tapes and away from adhesive edges to avoid weakening the bond.
Wearing pins directly on scalp skin repeatedly can cause irritation. To prevent this, always place pins through the wig cap or hair instead of piercing the skin. If you feel pressure, reposition the pin — a slightly looser pin is preferable to persistent soreness. Use high-quality, rust-resistant pins to avoid allergic reactions and skin stains.
Color-match pins to the wig or hair to make them invisible. Tuck pin ends under layers of hair or behind ear coverage. For short wigs, use pins near the nape and under the cap brim. For long wigs, hide pins under hair sections or within styled waves.
Going to the gym? Use a wig grip band under the wig and add two crossed pins at the nape. Doing light jogging? Add temple-to-nape diagonals. For windy outdoor events, add extra anchors near the crown and make sure the wig cap is snug.
Carry a small kit with a handful of bobby pins, a mini comb, and a spare wig cap. For emergency slippage, a couple of strategically placed pins (temple and nape) can restore hold quickly. Practice a few placements at home so you can fix things fast in a restroom or car.
how to secure wigs with bobby pins can be used alongside wig tape, adhesive, or combs for redundancy. For long events, combine a skin-safe tape at the front with pins at the sides and back. For theatrical or active work, anchor with both adhesive and pins to eliminate risk of failure under stress.
Adapt small silicone strips or fabric loops inside the cap to create pin-friendly zones. Sew small felt patches where pins will anchor to increase friction and reduce wear on the cap. These custom tweaks make how to secure wigs with bobby pins techniques more durable and less likely to damage delicate materials.
Problem: Wig slides forward at the forehead. Fix: Add two shallow pins behind the frontal edge, placed diagonally toward the temples, or use a thin band behind the hairline for friction.
Problem: Pins show through fine hair or thin caps. Fix: Use smaller pins, color-match them, and place them under hair layers or inside waves to hide them.
Problem: Painful pressure from pins. Fix: Reposition slightly, use fewer pins, or add a small soft felt pad under the cap at the pressure point.
By understanding the basics of anchoring, pin placement, and the interaction between cap, hair, and pin type you will learn reliable methods for how to secure wigs with bobby pins that keep your wig comfortable and secure during daily routines and special events. Small adjustments in angle, number, and location of pins can transform how stable a wig feels.
Successful practice of how to secure wigs with bobby pins isn't about brute force or using many pins; it's about correct placement, quality pins, and sensible preparation. With a little experimentation you will find a pin strategy that suits your wig type and daily routine, providing confidence without discomfort.
A: You should avoid pinning directly through delicate lace. Instead, pin through reinforced fabric or the cap immediately behind the lace. This preserves the lace integrity while providing secure anchoring.
A: There's no strict number, but aim for the minimum required—often 4–8 well-placed pins are enough. Over-pinning increases pressure and wear. Adjust based on activity level and cap fit.
A:Quality metal pins with a wavy side provide the best grip. Plastic pins may be gentler on delicate caps but often lack the hold needed for active situations.
A: When used thoughtfully—through the cap or catchingsmall sections, rotating placements, and avoiding direct lace punctures—pins do not have to damage wigs. Regular inspections and gentle removal reduce long-term wear.