Thick hair can feel like both a blessing and a challenge when you're preparing to wear a wig. Whether you're covering for hair loss, experimenting with a new style or simply protecting your natural hair, learning the right workflow is crucial. This comprehensive guide explores practical, step-by-step techniques, product suggestions and pro tips to achieve a secure, natural-looking fit. It is tailored for those with dense, voluminous hair textures and focuses on comfort, longevity and scalp health.

People with thick hair face unique issues: added bulk that can make a wig sit high or unstable, extra slip from oils and product buildup, and difficulty flattening hair sufficiently under a cap. A methodical approach reduces pressure points, prevents visible lumps and minimizes tension that can damage natural strands. Below you'll find a clear plan to prepare, fit and style a wig so it looks effortless and stays secure.
Prepping dense hair is the most important stage. The goal is to create a low-profile base that doesn't create bumps under the wig cap. Start with clean, dry hair: heavy products, oils or sweat can cause slipping. If your hair is naturally oily, a quick shampoo or dry shampoo before application helps. Section your hair into manageable parts using clips.
There are several effective techniques for thick hair: low flat braids, cornrows, flat twists or a combination of a low bun with strategic pinning. For many people the most reliable method is low braids or flat braids because they keep volume distributed evenly and lie close to the scalp. Use small elastic bands to secure ends.
Apply a pea-sized amount of smoothing cream or lightweight gel directly to the hair you'll be flattening. Use a wide-tooth comb to distribute and then a paddle brush to polish the surface without creating tension. Avoid heavy gels that can flake or make the cap slippery; the aim is controlled hold, not stiffness.
After braiding or twisting, gently flatten the braids into a single low pattern. For extra smoothness, create a low bun and pin it flat. Next put on a breathable wig cap. For very thick hair, use two caps: a stretch cap first to compress the bulk, then a nylon cap or second cap to create a smooth second layer and protect the wig from oils. Double-capping can reduce friction and keep the wig cleaner for longer.
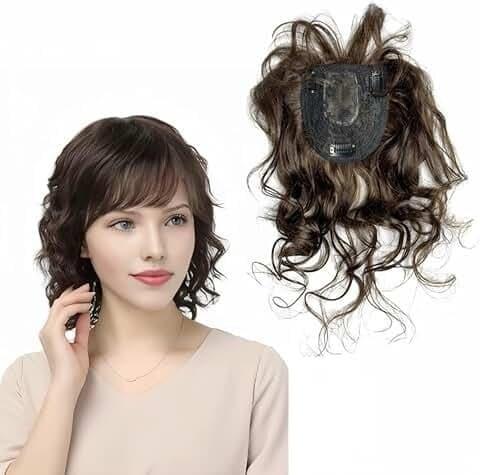
With your hair flattened and caps in place, it's time to position the wig. Good fit begins at the hairline: align the front edge of the wig with your natural hairline or slightly behind if you plan to customize the lace. Many lace front wigs benefit from a careful alignment to make the hairline appear natural.
Most wigs have adjustable straps inside the cap. Tighten them to a comfortable, snug setting. If the wig feels too tight on top but loose at the back, sectional pinning or repositioning of the underlying cap can help. Use long wig pins along the perimeter under the wig but above the cap to anchor it to the stretched cap or any sparse areas of natural hair.
A non-slip wig band or grip positioned along the hairline can dramatically reduce sliding, especially useful with thick hair that generates internal pressure. Place the grip over the cap and under the wig. Some grips are velvety and thin; others have silicone strips. Choose one that is breathable and comfortable for extended wear.
Many wearers use a combination of wig clips, combs and bobby pins. If your wig has built-in combs, sew-in wig clips or snap clips, they can anchor securely to your cap or small sections of hair. To avoid breakage, never anchor clips to a single thin strand; instead, secure to a braiding base or thicker section.
For lace front wigs, adhesive or tape may be necessary for a super-flat hairline or high-activity days. Use medical-grade tapes or skin-safe glue, and always perform a patch test. Clean the skin with alcohol-free wipes and follow glue manufacturer timing. Remove glue gently with an adhesive remover to protect the skin and hairline.
After securing the wig, spend time blending edges and creating a believable part. Use a small amount of concealer or foundation that matches your skin tone along the part for depth. Baby hairs or pre-plucked hairlines add realism; use a toothbrush or fine-tooth comb to style them. If you plan to heat-style, confirm that your wig type is heat-friendly. For synthetic wigs, use low-heat settings and heat protectant designed for synthetic fibers.
If your wig is a lace front, trimming lace carefully with sharp eyebrow scissors creates a seamless hairline. Cut small sections and leave a little lace to avoid cutting into the hair. When in doubt, trim less and refine gradually. Light plucking or microscopically thinning the frontal can prevent a "wiggy" look from an overly dense hairline.
Rotate wigs if possible to extend life and give your scalp breathing time. Remove gently by releasing any clips and adhesive with remover. Wash wigs per manufacturer instructions — use sulfate-free wig shampoo and conditioner for human hair units, or specially formulated synthetic wig care products. Store on a wig stand to keep shape and prevent tangles.
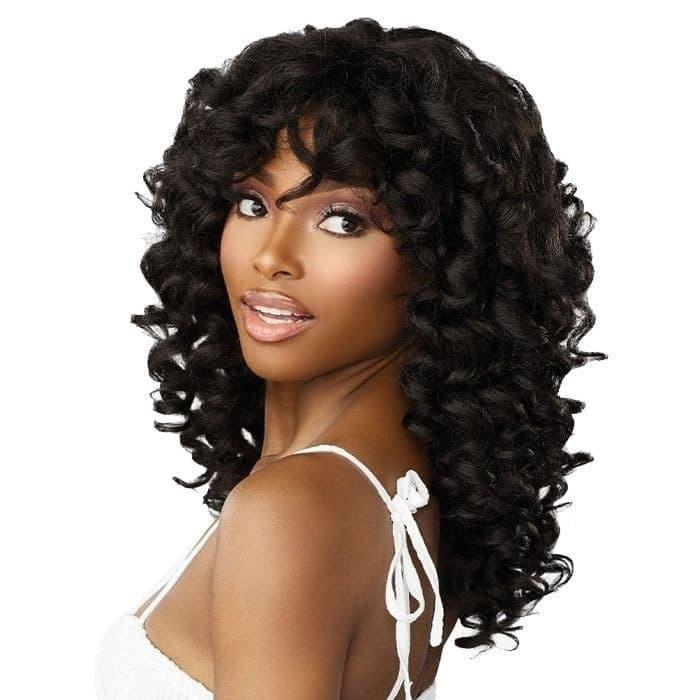
Curly or highly textured hair benefits from silky protective layers. Consider using satin-lined caps or silk scarves under the cap to reduce friction and protect curl integrity. If you keep your natural texture in braids, make sure braids are neatly done and not too thick individually; many people find smaller, tighter plaits create a smoother base.
For permanent or semi-permanent applications (adhesives for extended wear), heavy customization (re-lace, sew-ins or internal cap alterations) or alterations to dense wigs, consult a wig specialist or stylist experienced with thick natural hair. They can tailor the cap, adjust vents and offer a custom hairline for the most natural result.
Look for breathable wig caps, soft silicone-free wig grips, lightweight smoothing serums (silicone-free for scalp health), and gentle wig cleansers. For lace wearers select a reputable medical-grade adhesive and remover. When choosing any product, prioritize skin-safe formulas and read reviews specific to thick-hair applications.
Slide or looseness: Add 1-2 long wig pins beneath the cap at the temple and nape. Bumps: re-position braids and add a thin inner cap to compress. Visible hairline: trim lace conservatively and add light concealer along the part for depth. Itchiness: switch to breathable caps, check for product residue and consider a silk scarf under the cap.
Too tight and you risk headaches and hair damage; too loose and the wig looks unnatural. Aim for a confident middle ground where the wig feels secure but not constricting. Your comfort directly influences how natural the wig looks when you move, smile and interact.
Give your natural hair breaks between extended adhesive wear. Keep the scalp clean, moisturized and avoid cumulative traction. If you experience redness, persistent irritation or hair thinning, consult a dermatologist. Proper rotation and gentle handling extend the lifespan of both your natural hair and your wigs.
In short, mastering how to put on a wig with thick hair comes down to preparation, smart product use and gentle securing techniques. Flatten the foundation, double-cap when necessary, use a grip and pins strategically, and blend the edges. Regular care, practice and occasional professional adjustments will help your wig look realistic and remain comfortable throughout the day.