If you've searched for ways to recreate a favorite character's hair or want pro-level results from your own hands, this extended guide lays out step-by-step techniques, materials, and pro tips for building, customizing, and styling costume hair. Whether you are a beginner wanting to learn how to make cosplay wigs from scratch or an intermediate maker refining advanced ventilating and styling methods, this article gives an organized workflow, troubleshooting strategies, and styling secrets that boost both realism and durability.
In this guide you'll find: an itemized materials list, cap choices and sizing, machine sewing vs. hand wefting, ventilating lace and mono tops, cutting and layering strategies, heat and non-heat styling for synthetic fibers, glue and netting tips for gravity-defying styles, maintenance and storage notes, and pro finishing touches like root shading and baby hairs. Multiple sections include step-by-step instructions and recommended tools to achieve consistent results.
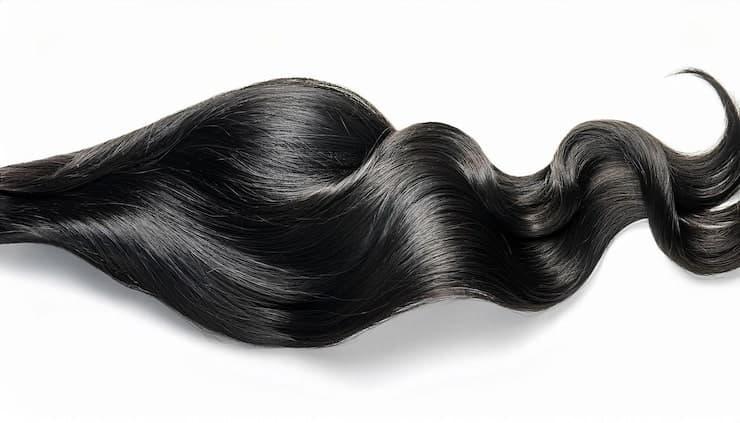
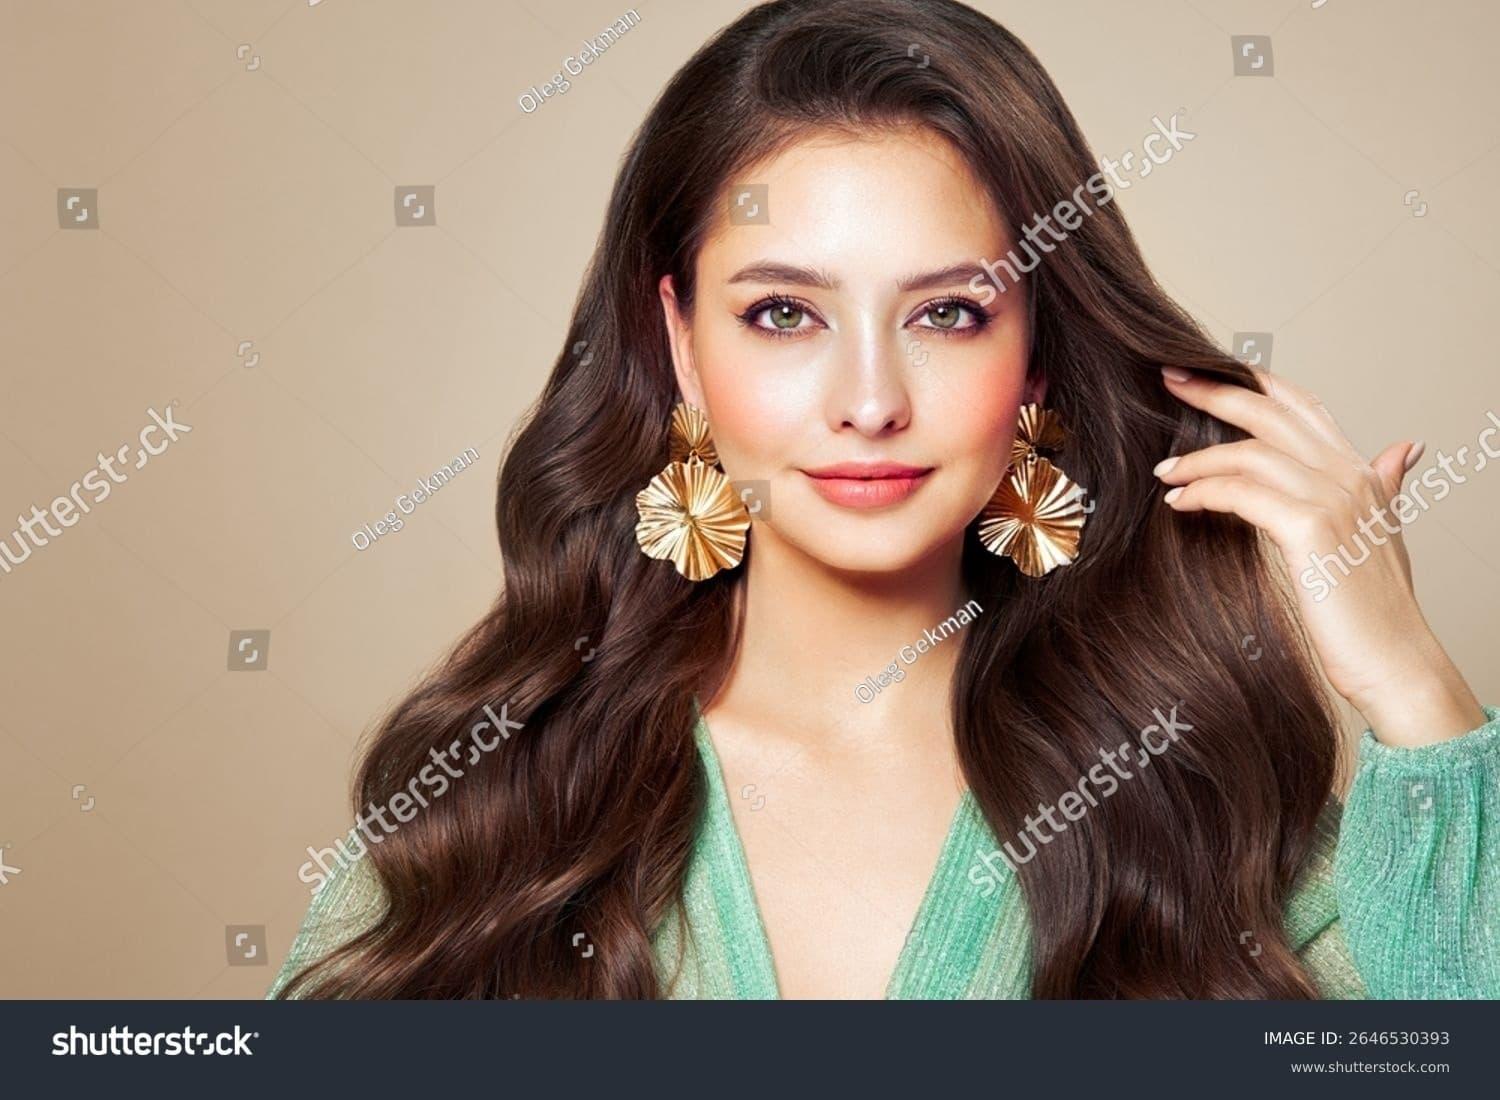
Choosing the correct fiber determines how you will style and maintain the wig. Synthetic fibers are affordable, hold styles well, and are available in vibrant colors, making them ideal for many cosplays; heat-resistant synthetics can tolerate low-to-medium heat for shaping. Human hair offers the most natural movement and heat versatility but requires more care and can be costlier. Cap types influence comfort and realism: lace fronts and monofilament tops give the most natural hairlines and parting, while open-weft caps are breathable and great for sewn wefts.
Measure your head at the circumference, from front hairline to nape and across ear to ear. Transfer measurements to the wig block or inflate a styrofoam head to match. Use a stocking cap over the block to create friction and avoid slippage during sewing. Gather your wefts and sort by length and color; if using blended colors, plan where each tone will sit to achieve natural gradients or stylized color blocks.
Ventilating is a time-intensive process but gives the most realistic hairline and part. Use a ventilating needle to knot fibers through lace one-by-one or in small clusters. For a natural density, space knots irregularly and vary tuft lengths slightly. Seal the knots on the inside with a dab of clear fabric glue or ventilating sealer to prevent loosening.
Cutting determines the silhouette; always cut less than you think and refine. Use long-handled shears for big shapes and thinning shears for texture. When shaping bangs or detailed face-framing pieces, cut vertically for softer edges. For anime spikes and gravity-defying shapes, create internal structure by sewing in wire, using foam filler pads, or shaping with lots of hairspray and heat setting where allowed. For layered styles, work from the perimeter inward, continually checking balance on a live head or mannequin.
When fibers are heat-resistant, use temperature-controlled tools and test on a scrap of hair. Low heat settings are safer: use a flat iron to create smooth shapes and a curling iron to build curls, then cool and set with spray. For non-heat synthetics, use steam from a steamer or a kettle, or set styles with rollers and cold water to reset the memory. Use elbow grease and high-hold sprays for spikes; for severe gravity styles, combine internal supports (wire/foam), glue layers, and finishing sprays.
To make a wig look more natural, add root shading with diluted acrylic, alcohol-based dyes, or airbrushing for soft gradation. For highlights and lowlights, blend thin sections of different colors at the weft level or ventilate in different tones. Permanent color on human hair follows standard dyeing processes; on synthetics, use fabric dyes or specialized synthetic fiber coloring products. Always test color on a sample before committing to the whole wig.
Baby hairs are crucial for realism. Use a razor or small scissors to carefully slice short hairs along the hairline, then thin them with a razor for a wispy look. Use a small toothbrush or spoolie with clear gel to set and position baby hairs. If the hairline still looks dense, pluck selectively or ventilate sparser hairs to mimic natural irregularity.
Trim lace carefully to match your forehead shape; leave a narrow border to avoid accidental overcutting. Use skin-safe adhesive or double-sided tape to affix lace front; press and hold until secure. For long wear at conventions, apply a sealant over the edge (after adhesive dries) to prevent peeling. Remove gently with adhesive remover to protect both skin and lace.
Bulkiness at crown: Thin wefts or ventilate the top to reduce volume.
Loose knots: Re-tie or reinforce with a dab of sealer.
Synthetic melting from misused heat: Trim the damaged area and reattach a small weft patch; avoid high heat and use a heat-blocking spray next time.
Unnatural shine: Apply matte spray or dry shampoo sparingly and brush through.
Wash wigs gently using sulfate-free shampoo for human hair and specialized synthetic wig shampoo for synthetics. Soak, rinse, and pat dry on a wig block to preserve shape. Store rigs on stands or inside breathable fabric bags to avoid dust and flattening. For long-term shape retention of styled wigs, use netting and hairpins to lock the style and store on a sturdy mannequin head.
Expect beginner projects to take several hours to a full day for simple sew-through wigs; advanced ventilated or hand-tied wigs can take 20–80+ hours depending on complexity. Budget varies: synthetic materials and caps can be under $50, while high-quality heat-friendly or human hair and specialized tissues push costs above $200–400. Plan milestones: cap prep, base construction, primary styling, detailed trimming, and final finishing and testing on a live model.
Different characters require different approaches: anime characters often need exaggerated volume and stiff spikes — use internal structure, foam, and extra product; historical or realistic characters need subtle color work and soft layers — favor monofilament tops and root shading. For wigs that must hold extreme shapes, combine sewed-in wire armatures with multi-layered glue shells and finish coats of high-hold hairspray.
Use skin-safe adhesives and perform patch tests for glues. Keep ventilation in mind: breathable caps, occasional relief holes, and hydration can prevent overheating. Avoid prolonged exposure to strong solvents or sprays in closed spaces; wear a mask when dyeing or using aerosolized products.


Every wig is a learning opportunity. Keep notes on what worked: which fibers held heat, which adhesive lasted longest, and how certain internal supports affected weight and comfort. Over time you'll develop a library of pre-made components (nape strips, ear pieces, pre-cut lace fronts) that reduce build time and increase consistency.
Read community tutorials, watch slow-motion ventilating demos, and practice on small samples before attempting an expensive fiber. Join maker groups for swap-and-learn sessions; many cosplayers share patterns and cap templates that save hours of trial and error.
Mastering how to make cosplay wigs is a stepwise process: choose the right materials, construct a stable base, use informed cutting and ventilating methods, apply targeted styling techniques based on fiber type, and finish with realistic details like root shading and baby hairs. With practice and patience you can achieve professional-level results that hold up in photos, on stage, and through long convention days.
This guide emphasizes techniques and workflows designed to elevate your wig-making from basic to pro. Save this page, practice the core steps, and adapt the methods to your preferred materials and character needs. By combining solid fundamentals with experimentation you will develop signature techniques that make your custom wigs stand out both on-stage and on-camera.