If you're searching for clear, actionable tips on how to tie hair for wig to achieve a near-invisible hairline and a secure fit, this comprehensive guide covers preparation, techniques, and finishing touches that work for all hair types. Whether you're new to wigs or refining your routine, understanding the best methods to flatten and secure your natural hair before applying a wig makes a dramatic difference in comfort, longevity, and realism.
Many beginners underestimate how much the way you prepare and how to tie hair for wig affects the outcome. A well-executed tie-down keeps the wig from shifting, reduces bulk, prevents tension-related damage, and creates a smooth foundation so the lace or hairline lays flat and looks natural. This guide explains techniques that reduce visible bumps, blends baby hairs, and secures the wig without excessive glue or tape if you prefer alternatives.
Anyone who wears wigs—medical, fashion, protective, or daily wear—will benefit. Techniques vary slightly for different textures: fine, straight hair; thick, curly hair; and textured or coarse hair. The core principles remain the same: detangle, reduce volume, and smooth the hair so the wig cap sits flush against the scalp.

Start by washing and deep conditioning if possible, especially if your hair has product buildup. Clean hair is easier to smooth and less likely to cause friction under a wig cap. Light leave-in conditioner or a small amount of oil can help with frizz control, but avoid heavy products that create slickness and cause a cap to slide.
Use a wide-tooth comb to remove tangles gently. For very curly or coily hair, apply a lightweight detangler and work in sections. The goal is even, manageable hair that can be shaped into low-profile styles.
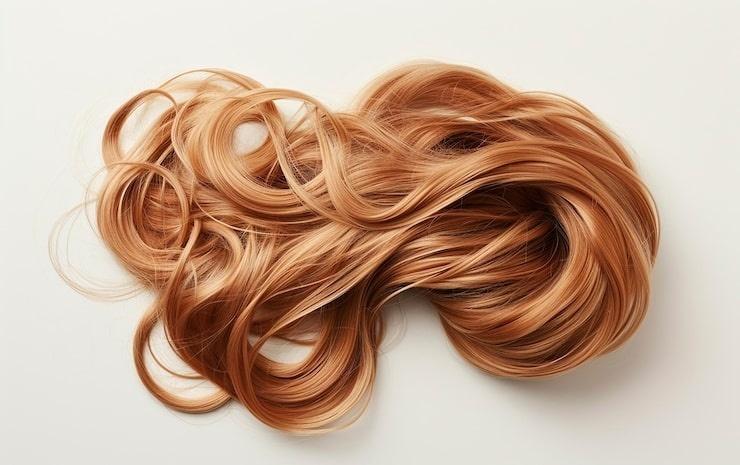
There are three common approaches to flatten hair for wigs: cornrows, braids, and flat twists. Each reduces bulk differently and suits different head shapes and wig types.
Cornrows create a flat canvas and are ideal when you want minimal lumps under the wig. Part the hair into neat sections and braid tightly but comfortably. For most wigs, horizontal or spiral cornrow patterns work best. Seal the ends with minimal hair ties and tuck them under a cap or into a bun.
Flat twists and larger braids can be more comfortable and faster for thick hair. Use multiple rows and aim to keep each row as flat as possible. For shorter hair, flat twists often hold better than braids and provide a smooth base.
If braiding isn't an option, a low-profile bun or wrapped updo can be used. Smooth the hair into a low ponytail, twist it flat against the scalp, and secure with flat elastics. Apply a thin layer of gel and wrap a satin scarf to set the style for 10–20 minutes.
When working on an invisible hairline, blending the lace with your skin tone is essential. Use foundation or concealer sparingly along the lace band, or choose lace color that matches your skin. Train baby hairs by lightly trimming and shaping them with edge control. This mimics natural hair growth and softens the transition between skin and lace.
If you prefer to avoid strong adhesives, there are excellent alternatives: wig grips, adjustable elastic bands sewn inside the wig, discreet wig clips, and well-placed bobby pins can all provide firm hold. Learn to combine methods—cap + grip + a few pins—so you minimize reliance on any single technique and reduce scalp irritation.
One popular method is sewing an elastic band across the interior of the wig to create constant tension and a snug fit. This is done by stitching a soft elastic from ear to ear inside the cap, then adjusting the tightness until comfortable. It's a semi-permanent adjustment but reversible if you change wigs.

Small wig clips can attach to edges of your braided or flattened hair. These work best when you have cornrows or a braided base to clip into. Use at least four clips (two front, two back) for even hold, and place them where they won't create pressure points.
Rotate wig styles and give your natural hair regular breaks. Avoid extremely tight braids or prolonged adhesive use that can strain edges. Condition and massage your scalp to maintain circulation, and sleep with a silk or satin bonnet to avoid friction.
Be gentle when styling baby hairs and limit heat. Use light serums formulated for edges and avoid heavy gels that can flake or accumulate. If you notice shedding or thinning, reduce tension and consult a stylist for protective approaches.
Fine, straight hair tends to be slippery, so use slightly more friction—like a wig grip or thin cap under the wig—to prevent movement. Thick or kinky hair requires smaller, tighter braids or multiple wigs caps to minimize bulk. Short textured hair benefits from flat twists or even a head wrap technique, then a cap to compress the hair.
For short hair, smoothing with a light gel and a nylon wig cap often provides a sufficient base. Tie the cap tightly enough to flatten but not so tight as to cause headaches. Consider a second cap for extra security and to keep the ear tabs from showing.
For exercise or windy conditions, combine a thin layer of adhesive around the perimeter with inner elastic or grip. Place pins discreetly near the crown and use a scarf during breaks to keep the lace pressed flat while you cool down.
Beginners often make a few predictable errors when learning how to tie hair for wig:
Before you put on a wig, run through this quick checklist to ensure a smooth application:
To avoid breakage, remove adhesives carefully with a remover designed for wig glue, loosen straps, and gently lift from the nape forward. Take time to detangle and condition your natural hair after removing your wig to restore moisture and circulation.
Professionals often customize wig bases with elastic bands, sewn-in combs, and even bespoke lace colors. If you wear wigs daily, consider investing in several caps sized for different wigs and learning to adjust tension based on the activity level and your comfort preferences.
Layering means combining multiple techniques: a flattened braid base, a snug wig grip, a sewn-in elastic, and minimal adhesive along the front. This redundancy keeps the wig in place with less reliance on chemicals and maintains an invisible hairline through long days.
Clean and condition wigs per the manufacturer's instructions. Storing them on a mannequin head preserves shape and prevents tangles. Regular maintenance ensures the hair retains movement and the lace stays intact for a natural look.
Learning how to tie hair for wig is a process of trial, practice, and small adjustments. What works for one person may need tweaking for another—hair density, scalp sensitivity, and lifestyle all influence your ideal routine. Start with gentler methods, experiment with layering, and once you find a system that balances comfort, security, and realism, maintain those habits consistently.
Remember: comfort and scalp health come first. A secure, invisible hairline is achievable with patience, the right prep, and a few tried-and-true tools.
Seek tutorials from licensed stylists for hands-on guidance, consult wig care guides for product recommendations, and practice different flattening patterns to find the most comfortable fit for your head shape.
If your wig still moves despite proper tie-down, check for oily products under the cap, inspect if the cap size is correct, and add a non-slip wig grip. If the lace lifts at the temple, try a minimal amount of medical-grade adhesive or reposition the cap for better edge contact.
If you notice increased shedding around the perimeter, reduce tension and consult a trichologist if necessary. Always prioritize protective techniques that minimize stress on your natural hair.
For quick daily wear, many find that a two-cap method (thin nylon cap under a mesh cap) plus an elastic band and a spray of holding hair spray offers a balance of comfort and hold.
By integrating these approaches, you can master reliable methods of how to tie hair for wig and achieve a smooth, secure, and realistic finish every time.
Below are frequently asked questions and concise answers to common beginner queries.